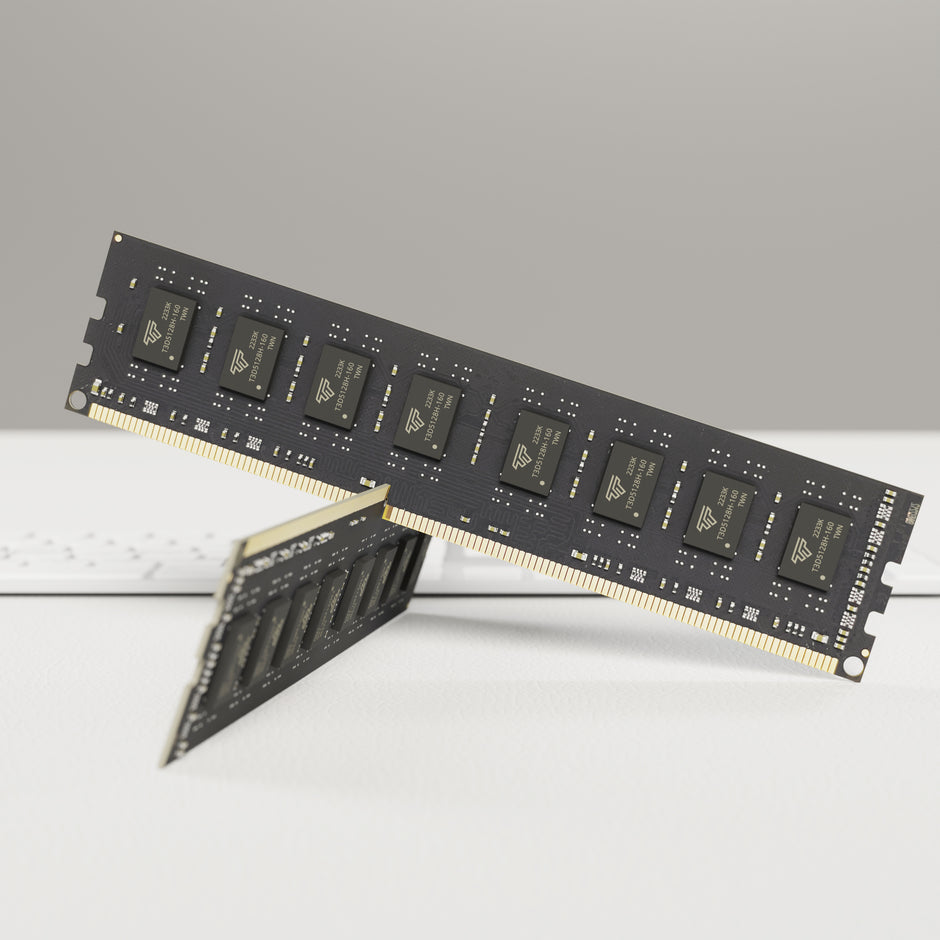
Enhancing the performance of your computer can often be achieved by enabling XMP (Extreme Memory Profile) on your DDR4 RAM. In this blog, we'll provide step-by-step guides for activating XMP on motherboards from popular brands such as ASUS, ASRock, EVGA, Gigabyte, and MSI.
ASUS Motherboards:
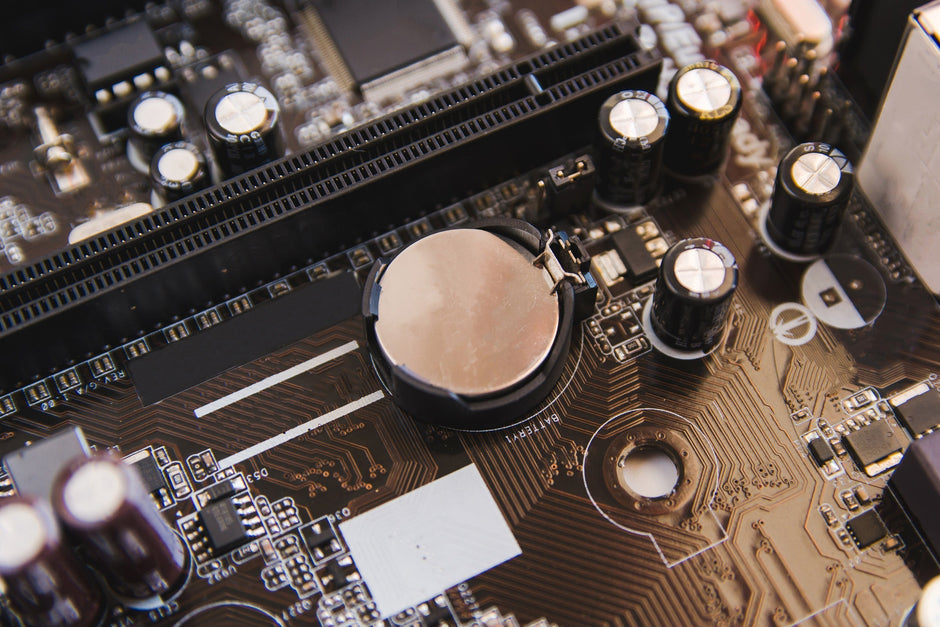
- Boot up your computer and press the appropriate key (usually DEL or F2) to enter the BIOS.
- Navigate to the "AI Tweaker" section.
- Look for the "XMP" option and set it to "Enabled".
- Select the desired XMP profile (e.g., Profile 1 or Profile 2).
- Save your changes and exit the BIOS. Your ASUS motherboard will now run your DDR4 RAM at the enhanced XMP speeds.

ASRock Motherboards:
- Start your computer and press "F2" or "DEL" to access the BIOS.
- Locate the "OC Tweaker" section.
- Find the "X.M.P" option and enable it.
- Choose the appropriate XMP profile based on your RAM's specifications.
- Save and exit the BIOS to apply the changes.

EVGA Motherboards:
- Upon booting, press the key indicated on the screen (often DEL) to enter the BIOS.
- Search for the memory settings section, which may be under "Advanced" or a similar menu.
- Enable the "XMP" option and select the desired profile.
- Save your settings and exit the BIOS.

Gigabyte Motherboards:
- Press "DEL" during startup to enter the BIOS.
- Go to the "M.I.T" (Motherboard Intelligent Tweaker) section.
- Open "Advanced Memory Settings".
- Set "Extreme Memory Profile (X.M.P.)" to "Profile 1" or another available option.
- Save and exit the BIOS.

MSI Motherboards:
- Boot your computer and press "DEL" to enter the BIOS.
- Navigate to the "OC" (Overclocking) section.
- Look for "DRAM Configuration".
- Enable the XMP option and select the appropriate profile.
- Save and exit the BIOS.
For ASUS XMP AMD platform
ASUS - Advanced Mode
"Ai Tweaker" tab -> "Ai Overclock Tuner"
For MSI XMP AMD platform
MSI - Advanced Mode
"OC" tab -> "A-XMP"